
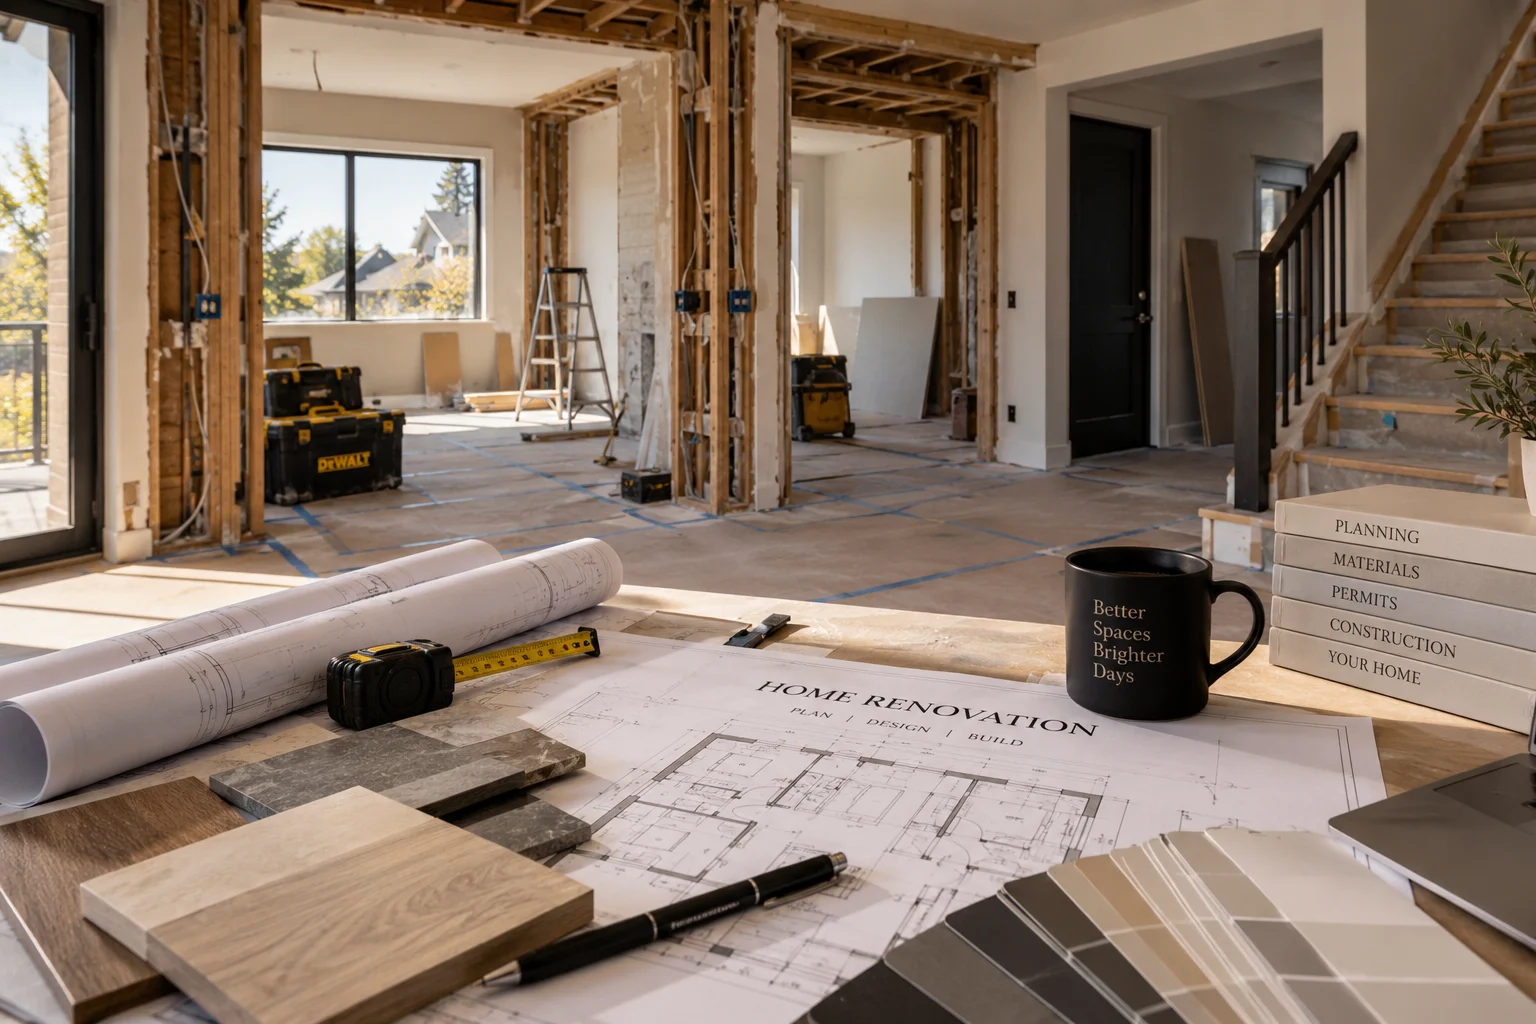
Most renovation problems are planning problems. They show up as budget overruns, schedule slips and finishes that do not quite line up, but they almost always trace back to a decision that was made too late, made twice, or never made at all.
This guide walks through planning a home renovation in Toronto in the order the decisions actually have to happen — scope, budget, permits, trades, sequence and selections — with the parts that are specific to this city rather than generic advice that could apply anywhere.
Start with the problem, not the finish
The first decision is not a material or a colour. It is a clear statement of what is wrong with the space today.
Renovations that start from a finish — a tile, a cabinet door, a photograph — tend to drift, because there is no test for whether a decision is right. Renovations that start from a problem have a built-in test: does this solve it?
Write the problem down in plain language before anything else. Useful versions sound like this:
- Two people cannot work in the kitchen at the same time.
- There is nowhere to put coats, boots and bags between October and April.
- The basement is dry but unusable, so the house effectively has one fewer floor.
- The main floor is chopped into small rooms that no longer match how the family lives.
- Storage is scattered, so every room collects things that belong somewhere else.
From there, separate the list into three columns: what must change, what would be good to change, and what you are leaving alone. That third column matters more than people expect — it is what stops a bathroom renovation quietly becoming a second-floor renovation.
Decide how long you intend to stay
This single question changes the whole brief. Renovating a home you plan to live in for fifteen years justifies work that is invisible — better cabinet boxes, better hardware, a layout change that costs more now and works every day afterwards. Renovating before a sale points the budget at what a buyer sees in the first ninety seconds.
Neither answer is wrong. Not answering it is what produces a renovation that is expensive in the wrong places.
What actually drives the budget
Cost is driven far more by scope and existing conditions than by the finishes you choose. Two kitchens with identical cabinetry can differ enormously depending on whether plumbing moves, whether a wall is structural, and what is found once the walls are open.
The variables that move a renovation budget most, roughly in order:
- Whether services move. Relocating plumbing stacks, drains, gas lines or the electrical panel is structural-scale work compared with replacing what is already there.
- Whether walls are structural. Removing a load-bearing wall brings in engineering, a beam, temporary support and a permit.
- Existing conditions. Knob-and-tube or aluminum wiring, galvanized supply lines, an undersized panel, out-of-level floors, asbestos in older finishes — none of these are visible at quoting stage.
- Access. A third-floor condo with an elevator booking window is a different job from a detached house with a driveway.
- Scope creep. The most common budget event in any renovation, and the most preventable.
- Selections. Real, but usually smaller than homeowners assume — and the easiest lever to pull late.
Anyone quoting a firm price for your home before measuring it and looking at what is already there is quoting a different house. Costs depend on scope, selections, dimensions, existing conditions, labour and access, and those are project-specific.
Hold a contingency, and treat it as spent
Set aside a contingency for what the walls are hiding, and mentally treat it as already committed. A contingency you are emotionally spending on an upgrade is not a contingency. In older Toronto housing stock in particular, the question is usually not whether something unexpected appears but which thing appears.
Do you need a building permit in Toronto?
In Toronto, a building permit is required under the Building Code Act for most construction, demolition, additions or material alteration of a building. Cosmetic work generally is not. The line falls in a fairly predictable place, and knowing where it falls early is what keeps a schedule intact.
According to the City of Toronto, work that does require a permit includes:
- Adding or removing walls — that is, changing room sizes or uses.
- New windows or doors where there were none before, or enlarging or relocating existing openings.
- Enclosing an existing deck, porch or patio, of any size.
- Installing or modifying heating or plumbing systems.
- A deck more than 60 centimetres (24 inches) above the adjacent finished grade.
- A shed or accessory structure of 15 square metres (161 square feet) or more — and any shed that is attached or has plumbing, regardless of size.
- Basement work involving structural changes, new plumbing, excavation, underpinning, or adding a second suite.
Work that generally does not require a permit includes replacing windows or doors in a detached, semi-detached or row house containing a single dwelling unit where the size and location of the opening do not change; finishing a basement where there are no structural alterations, no new plumbing and no second dwelling unit; an uncovered deck platform not exceeding 60 centimetres above grade; and a single-storey, unattached storage shed under 15 square metres without plumbing.
Two practical points follow. First, the permit question is a design question, not a paperwork question — whether you move a wall determines whether you need a permit, so it has to be settled before drawings are finalised. Second, permit timelines belong in the schedule, not beside it. The City notes that failing to obtain permits can result in construction delays, legal action, or removal of work already completed.
Requirements and processes differ between municipalities. A project in Vaughan, Markham or Richmond Hill goes through that municipality’s building department, not Toronto’s, and the thresholds above are Toronto’s. Confirm locally before assuming.
Who you need on the project — and who has to be licensed
A renovation of any size involves several distinct roles, and confusing them is a common source of trouble.
- The renovation contractor or project manager defines the scope, sequences the work, engages and coordinates trades, holds the schedule and runs quality control.
- A designer or architect may be involved where layout, structure or permit drawings are required.
- A structural engineer is required where load-bearing elements change.
- Regulated trades — electrical, plumbing, gas, HVAC — must be performed by appropriately licensed and qualified contractors.
The electrical side is worth understanding specifically, because Ontario’s rules surprise people. Electrical work in your home must be carried out by a Licensed Electrical Contractor holding an ECRA/ESA licence — a business licence, not simply an individual’s trade certificate — and that contractor files the notification of work with the Electrical Safety Authority. Our guide to choosing an electrician for your renovation in Ontario covers the licence check, permits, inspections and the red flags in detail.
ZaRRuS is a renovation and project management company. Electrical, plumbing, gas and HVAC work is completed by qualified independent licensed and insured trades, engaged and coordinated as part of the project rather than performed in-house.
What to ask before you sign anything
- What exactly is included, and what is explicitly excluded?
- Who is on site day to day, and who is accountable for the schedule?
- Which trades are subcontracted, and are they licensed and insured?
- Who applies for permits, and is that cost in the price?
- How are changes priced and approved once work has started?
- What happens when something unexpected is found behind a wall?
- How is the site protected, and who handles dust control and disposal?
- What does the payment schedule look like, and what is it tied to?
- Can I see completed work in person, at close range?
Compare the answers rather than the totals. A quote you cannot interrogate is not a quote you can compare — and the cheapest number is usually the one with the most left out of it. How we structure this stage is set out on our process page.
Drawings: what you actually need before quoting
You cannot get comparable quotes without a comparable scope, and a scope is hard to communicate in words alone. The level of drawing required scales with the work.
- Like-for-like replacement — new finishes in the existing layout — usually needs accurate measurements and a written scope rather than formal drawings.
- Layout changes within existing walls need a measured plan and, for kitchens and millwork, elevations. Elevations are where cabinet heights, appliance clearances and device positions get resolved.
- Structural change, new openings or an addition needs permit drawings, and where load-bearing elements are affected, a structural engineer.
The measured survey matters more than people expect. Older homes are rarely square, and a drawing based on assumed dimensions produces cabinetry that does not fit. Measure the space as it is, not as it was designed to be.
Where a designer is involved, agree early who owns which decision. Ambiguity between designer, contractor and homeowner over who specifies hardware, who confirms appliance models and who approves the lighting plan is a reliable source of delay.
How to compare renovation quotes properly
A quote you cannot take apart is not a quote you can compare. Three numbers for three different interpretations of the job tell you nothing, and the lowest of them is usually the one with the most left out.
A quote worth comparing shows:
- Scope broken down by trade or phase, rather than one lump sum for everything.
- Allowances stated explicitly — what has been assumed for tile, fixtures, appliances or countertops, so you know whether your actual selections fit.
- Exclusions in writing. Permits, disposal, painting, patching, appliance installation and temporary protection are the usual quiet omissions.
- Who supplies what. Contractor-supplied versus owner-supplied materials changes both price and responsibility if something arrives damaged.
- How changes are priced — a stated rate or method, agreed before work starts.
- Duration and payment schedule, tied to stages rather than dates alone.
Before comparing, normalise the quotes. Write down every line one quote includes that another does not, and add the missing items back at a realistic figure. Prices that looked far apart usually converge, and occasionally the cheapest quote becomes the most expensive once patching, disposal and permits are restored to it.
Give every contractor the same information. If one is quoting from your drawings and another from a ten-minute walkthrough, you are not comparing them — you are comparing how much each one guessed.
Contracts, deposits and how money should move
Payments should follow progress, not the calendar. A schedule tied to completed stages keeps the incentives aligned; a schedule tied to dates pays for time rather than work.
What a written agreement should make unambiguous:
- The scope, the exclusions and the allowances.
- The total price and what would change it.
- The payment schedule and what each payment is tied to.
- The change-order process — priced and approved in writing before work proceeds.
- Expected start and duration, and what happens if either moves.
- Who holds responsibility for permits and inspections.
- Warranty terms and what they actually cover.
- How the deficiency list is handled at completion.
Two practical cautions. A large deposit relative to the work is worth questioning, and a request for cash without documentation should end the conversation — it removes your paper trail and, on the electrical side, is one of the warning signs of unlicensed work.
Hold a meaningful final payment until the deficiency list is genuinely closed. The last five per cent of a renovation is the hardest to get finished, and it is the only leverage that reliably works.
Insurance and coverage to verify
Ask for, and actually read, a certificate of commercial general liability insurance, and confirm WSIB coverage or a valid clearance certificate where applicable. Ask whether subcontracted trades carry their own coverage. Separately, tell your home insurer what you are doing — policies can contain conditions about vacancy, the extent of work, or materially altering the property, and finding that out after an incident is the wrong time.
The order work has to happen
Renovation sequence is not a preference. It is largely fixed by physics and inspections, and most schedule problems come from trying to run steps out of order.
A typical interior renovation runs roughly like this:
- Protection and demolition. Floor and opening protection first, then removal.
- Structural work. Beams, posts and openings, where applicable.
- Rough-ins. Plumbing, electrical, HVAC and any low-voltage or data runs, while the walls are open.
- Inspections. Rough-in inspections have to pass before anything is covered.
- Insulation and vapour barrier where the assembly requires it.
- Drywall, taping and priming.
- Tile and waterproofing in wet areas.
- Cabinetry and millwork installation.
- Countertop template and fabrication — which cannot begin until cabinets are installed and level.
- Flooring, depending on the assembly and the trades following it.
- Finish carpentry, paint, electrical and plumbing trim-out.
- Final inspections, deficiency list and walkthrough.
Two points in that list cause most of the delays. Step 4 means the drywall crew cannot start until an inspector has passed the rough-in, so the inspection has to be booked, not hoped for. Step 9 means there is an unavoidable gap between cabinet installation and finished countertops, because stone is templated to the cabinets as built rather than to the drawing. That gap belongs in the schedule from the start rather than arriving as a surprise with no kitchen sink.
Long-lead items sit underneath all of this. Cabinetry, stone, windows and certain appliances have lead times measured in weeks, and they have to be ordered against the sequence rather than when the trade is ready for them.
What has to be decided before what
The most useful thing a homeowner can understand about renovation planning is that selections have deadlines set by the trades that follow them, not by when you feel ready to choose.
Broadly:
- Before rough-in: layout, appliance models and their real dimensions, plumbing fixture locations, lighting plan and switch positions, any in-cabinet or in-drawer power, heated floor zones, and anything that needs a dedicated circuit.
- Before drywall: confirmation that the rough-in matches the design, blocking for anything wall-mounted, and the final position of every box.
- Before tile: tile selection, layout and setting details, niche positions, and the exact device positions behind the tile.
- Before cabinetry is ordered: door style, finish, hardware, interior fittings and appliance panel requirements.
- After cabinets are in: countertop template — and only then.
- Latest: paint colours, handles and accessories.
An appliance changed after rough-in can mean a moved circuit or a modified cabinet. A light fitting chosen after drywall can mean a box in the wrong place. Neither is a disaster on its own; together, across a whole project, they are what turns a ten-week schedule into a fourteen-week one.
If cabinetry and built-in storage are part of your scope, the material, construction and hardware decisions behind them are covered in depth in our complete guide to custom cabinets and built-in storage.
Doing it in stages without paying twice
Phasing a renovation is often sensible, but only if the whole plan is designed first and then divided. Phasing without a master plan is how people end up paying to open the same wall twice.
The rule that makes phasing work: anything that lives inside a wall, floor or ceiling should be done once, at the earliest phase that touches it. Finishes can wait. Infrastructure should not.
In practice that means if the main floor is opening up this year and the kitchen is planned for two years from now, the electrical rough-in, any relocated plumbing, the lighting circuits and a spare conduit or two for the future kitchen belong in this year’s work — even though nothing visible will use them yet. The incremental cost while the walls are open is small. The cost of reopening a finished, painted, tiled space is not.
Sensible phase boundaries tend to follow rooms or floors that are physically separable: a basement now and the main floor later; bathrooms now and the kitchen later; interior now and outdoor living in the next season. Poor phase boundaries cut through the middle of a system — half the wiring, half the plumbing, half a floor finish that will never quite match when the second half is laid.
Two further points worth deciding up front. Flooring that runs continuously across phases should be bought in one batch where possible, because dye lots and product lines change. And any structural work should be resolved in the earliest phase, because a beam or an opening added later disrupts everything finished around it.
Phasing also has a real benefit beyond budget: it lets you live in the result of phase one before committing to phase two. Plenty of homeowners change what they want from a kitchen after a year of using a reconfigured main floor, and that is a better reason to phase than money alone.
Living through it: access, logistics and the parts nobody plans for
These are the practical realities that rarely appear in a quote and frequently decide how the experience feels.
Staying or moving out
Whole-home and main-floor renovations are difficult to live through, particularly with a kitchen out of service. Single-room work usually is not. Decide deliberately, and if you are staying, agree in advance where the temporary kitchen goes, which bathroom stays live, and how the work zone is separated.
Dust, protection and daily reset
Dust control is a specification, not a courtesy. Sealed barriers, negative air where appropriate, protected floors and pathways, and a site left tidy at the end of each day are all things worth asking about explicitly, because they are also the things a low quote removes first.
Access, parking and disposal
This is where Toronto specifics bite. Narrow lots and laneway access in older neighbourhoods restrict how material arrives and how waste leaves. On-street parking for trades may require permits in some areas. Condo and apartment work brings its own layer: elevator booking windows, service entrances, approved working hours, board approval of drawings, and insurance certificates filed before anyone starts. Those requirements are not obstacles, but they are schedule items, and discovering them in week one is expensive.
Neighbours
On semi-detached and row houses — common across the older parts of the city — noise and shared-wall work affect people next door. Municipal noise by-laws set working hours. A short conversation before demolition starts is worth more than any amount of explanation afterwards.
Older GTA housing stock: what usually turns up
A renovation plan that assumes a clean, square, modern structure will not survive contact with much of this region’s housing. What commonly appears once walls are open:
- Electrical from another era — ungrounded circuits, aluminum branch wiring, knob-and-tube remnants, or a panel with no spare capacity for what you are adding.
- Plumbing at end of life — galvanized supply lines, cast iron drains, or venting that no longer meets current requirements.
- Out-of-level and out-of-square construction. Floors slope, walls bow, and openings are rarely plumb. This is why scribing and fitting matter more than catalogue dimensions.
- Undersized or modified framing, sometimes from a previous renovation done without permits.
- Hazardous materials. Asbestos was used in a range of building products in older construction, and vermiculite insulation may contain it. Where it is suspected, testing and qualified abatement come before demolition — this is a regulated health and safety matter, not a judgement call on site.
- Moisture history in basements — efflorescence, staining, previous patching — which changes how a basement can be finished.
None of these mean a house is a bad candidate for renovation. They mean the plan needs room for discovery, and that a contractor who tells you surprises never happen is either inexperienced or not being straight with you.
Where renovation plans go wrong
- Starting from finishes. Choosing tile before deciding what the room has to do.
- Leaving the permit question open. It is a design decision, and it gates the schedule.
- Selecting appliances late. Real model dimensions drive cabinetry and circuits.
- Deciding lighting after drywall. The single most common and most expensive sequencing error.
- No contingency, or a contingency already promised to an upgrade.
- Verbal changes. Every change priced and approved in writing, or the final invoice becomes a negotiation.
- Comparing totals instead of scopes. Three quotes for three different jobs is not a comparison.
- Ignoring the countertop gap between cabinet install and template.
- Forgetting storage. Renovating a room without deciding what lives in it produces a beautiful space that fills up with clutter within a year.
- Optimising the budget evenly. Spreading money uniformly makes everything adequate; concentrating it where hands and eyes land makes the whole project read well.
Local considerations across Toronto and the GTA
Planning changes with the housing stock, and the housing stock changes noticeably across the region.
In Toronto proper, much of the older core is semi-detached and row housing on narrow lots. Planning has to account for shared walls, restricted access, limited staging space and, frequently, electrical and plumbing that predates current expectations. Permits go through Toronto Building, and the thresholds set out earlier apply.
North York covers a wide span, from post-war bungalows and side-splits to newer infill. Bungalow projects here often centre on opening up a compartmentalised main floor or making a full-height basement genuinely usable — both of which raise structural and mechanical questions early rather than late.
Etobicoke mixes established detached neighbourhoods with a substantial amount of condo and apartment stock along the waterfront and major corridors. Where the project is in a building rather than a house, the building’s own rules — elevator bookings, service access, approved hours, insurance and board approval — often set the schedule before the trades do.
Scarborough has a large stock of mid-century detached homes and bungalows, frequently with generous lots. The common scope here is a main-floor reconfiguration or a basement conversion, and the common surprise is capacity — an electrical service sized for a much smaller list of appliances than a modern household runs.
Vaughan skews newer and larger. The planning question there is less often “what is hidden in the walls” and more often layout, storage and finish level — reworking how a large but generically laid-out house actually functions, and where built-in storage should go. Vaughan projects also go through Vaughan’s own building department, with its own process and timelines.
You can see the full set of areas we work across on our service areas page.
A realistic planning sequence
Pulling it together, a renovation plan that holds up tends to run in this order:
- Write down the problem, and the three columns: must change, would be good, leaving alone.
- Decide how long you intend to stay.
- Set a working budget and a separate contingency.
- Get the space measured and the existing conditions assessed.
- Settle layout — which decides the permit question.
- Confirm whether a permit is required, and who applies.
- Choose appliances and fixtures by actual model.
- Complete the lighting and electrical plan.
- Order long-lead items — cabinetry, stone, windows.
- Agree the schedule, including inspection points and the countertop gap.
- Agree how changes will be priced and approved.
- Start work.
Steps 1 to 11 are cheap. Step 12 is where money starts moving. Almost every expensive renovation problem is a step that was skipped in the first eleven.
How ZaRRuS approaches renovation planning
ZaRRuS is a renovation and project management company working across Toronto and the GTA. The planning work described above — defining scope, assessing existing conditions, sequencing trades, holding the schedule against lead times and inspections, and documenting changes — is the service, not the preamble to it.
Where specialised licensed work is required, it is completed by qualified independent licensed and insured trades, engaged and coordinated as part of the project. You can see the standard of finish across completed work under selected work and experience, and how a full scope comes together under home renovation.
Frequently asked questions
How far in advance should I start planning a home renovation?
Start planning well before you want work to begin, because the long poles are outside your control. Permit review, cabinetry and stone lead times, and trade availability all run in weeks. The design and selection work described in this guide costs nothing but time, and doing it early is what prevents the schedule from being set by whatever arrives last.
Do I need a building permit to renovate my house in Toronto?
It depends on the work. In Toronto a permit is required for things like adding or removing walls, creating or relocating window and door openings, enclosing a deck or porch, installing or modifying heating and plumbing systems, decks more than 60 cm above grade, and sheds of 15 square metres or more. Cosmetic work — replacing finishes, or finishing a basement with no structural change, no new plumbing and no second suite — generally does not. Confirm your specific scope with the City before assuming.
How much should I budget for a home renovation?
There is no honest figure that can be given before someone has measured your space and looked at what is already there. Cost depends on scope, whether services and structure move, existing conditions, selections, access and labour. What can be said usefully is that scope and existing conditions move the number far more than finishes do, and that a separate contingency for what the walls are hiding is not optional in older housing.
In what order should renovation work be done?
Protection and demolition, then structural work, then rough-ins, then inspections, then insulation and drywall, then tile, then cabinetry, then countertop template, then flooring, then finish carpentry, paint and trim-out, then final inspection and walkthrough. The order is largely fixed — rough-in inspections gate drywall, and countertops cannot be templated until cabinets are installed.
Can I live in my house during a renovation?
Single-room projects are usually manageable. Whole-home and main-floor work with the kitchen out of service is genuinely difficult. If you are staying, decide in advance where the temporary kitchen goes, which bathroom stays live, how the work zone is sealed off, and what the daily clean-up standard is.
What should I decide before the walls are closed?
Layout, real appliance dimensions, plumbing fixture positions, the full lighting plan and switch locations, any in-cabinet or in-drawer power, heated floor zones and anything needing a dedicated circuit. Everything on that list is nearly free to decide before rough-in and expensive to change after drywall.
Should I hire a general contractor or manage the trades myself?
Managing trades yourself is feasible on a single-room project with a simple scope. It becomes difficult when several trades have to be sequenced around inspections and lead times, because the cost of a missed handover is paid in schedule rather than in invoices. The honest test is whether you can be available during working hours to make decisions quickly.
What happens if something unexpected is found behind a wall?
The process should be the same every time: the condition is documented, options are priced, you decide, and the change is put in writing before anyone proceeds. What you do not want is a verbal conversation on site that reappears as a line on the final invoice. Agree how changes will be handled before work starts.
Does renovating in a condo work differently?
Yes. The building adds a layer before the trades even start: drawings may need board or property-management approval, elevator and service-entrance bookings are limited, working hours are restricted, and certificates of insurance are usually required in advance. None of it is difficult, but all of it is schedule, and it should be confirmed before dates are promised.
In short
Planning a renovation well comes down to a short list: define the problem before the finish, settle layout early because it decides the permit, choose appliances and lighting before the walls close, order long-lead items against the sequence rather than the trade, and keep a real contingency for what older housing is hiding.
Everything else — the comparisons, the quotes, the material choices — gets easier once those are fixed. The work that feels like delay at the start is what removes delay later.
Planning a renovation in Toronto or the GTA? Request a consultation and we will walk through the space and the scope with you. Our renovation FAQ covers how projects are planned and run.